Getting Started with Arthur MCP
Arthur MCP turns an existing API, database, or set of prompts into a governed Model Context Protocol server that AI clients like Claude Desktop, Cursor, or ChatGPT can call. This guide walks through the full path from a fresh instance to an AI client calling your first tool. For a deeper look at any individual feature, see the pages linked in each step or the full index on Home.
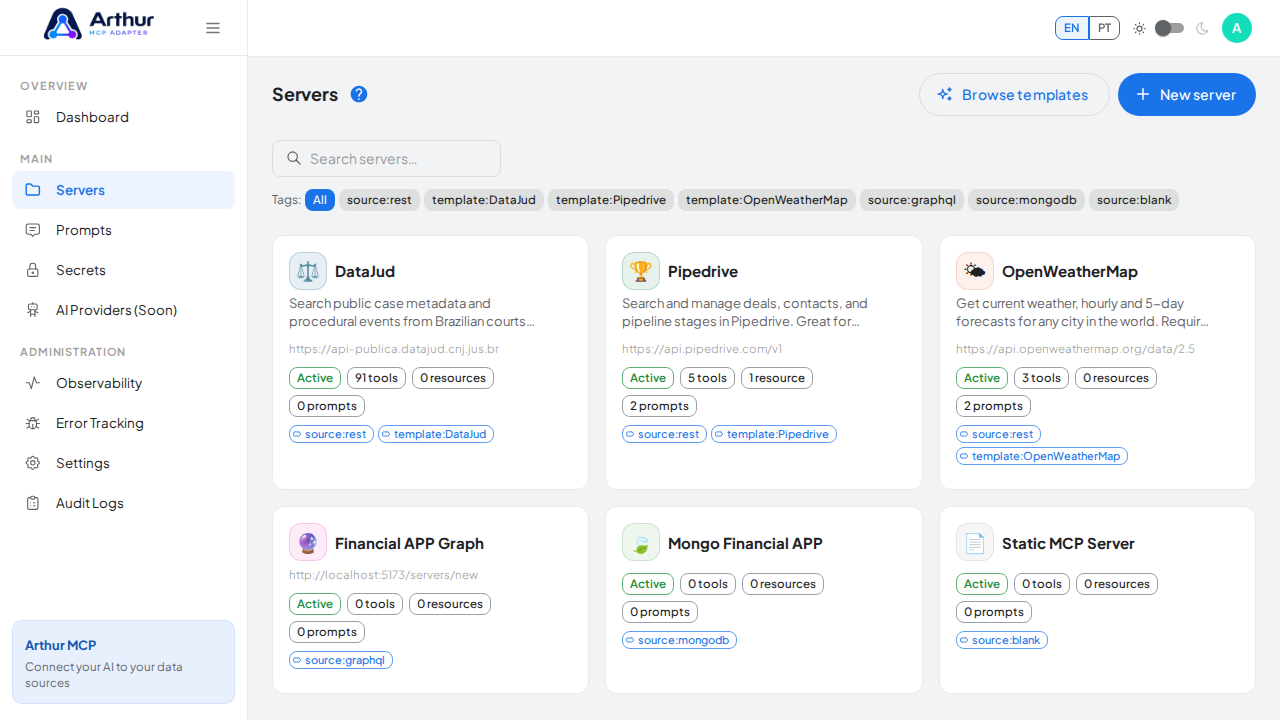
Looking to install and run Arthur MCP itself? See the Quick Start section in the README. This guide assumes the app is already running and you're opening it in a browser.
Step 1: Create your account
Arthur MCP uses Supabase for authentication, by email rather than username.
- Open the app and go to Sign Up.
- Enter your email and a password, then submit.
- If email confirmation is enabled on the instance, check your inbox and click the confirmation link before logging in.
- Log in with the same email and password.
The first account created on a fresh instance is an Administrator with every permission. Later accounts get whatever role an admin assigns them — see Step 8.
Step 2: Create your first MCP server
Every Server in Arthur wraps one data source and gets its own MCP endpoint. From the Dashboard, click New Server and pick one path:
- From a template — browse the Templates gallery (69+ ready-made APIs: GitHub, Stripe, Slack, Notion, and more). Pick one, name your server, paste a credential if the API needs one, and Arthur creates the server with every tool pre-defined. Some templates (JSONPlaceholder, PokéAPI, Open-Meteo) need no credentials, so you can try this step with zero setup.
- From an OpenAPI/Swagger spec or Postman collection — upload the file. Arthur reads every operation and generates one Tool per endpoint automatically.
- From scratch — create an empty server and add Tools by hand when you need full control over what's exposed.
Confirm success: the new server opens on its Connect tab, and the Tools tab shows a badge with the number of generated tools (0 if you started from scratch). Learn more: MCP Server Management, REST API Template Gallery.
Step 3: Review and shape what Arthur generated
Open the server and work through its tabs:
- Tools — the actions the AI can call. Edit a tool's name, description, or JSON Schema input/output so it reads clearly to an AI client, not just to a human. Delete anything you don't want exposed.
- Resources — read-only data the AI can pull into context. Static resources hold fixed content you write once; dynamic resources call a live REST endpoint at read time.
- Prompts — reusable instruction templates using
{{argumentName}}placeholders. Link a prompt from the shared library at/prompts, or write one directly on the server.
Each Tool, Resource, and Prompt can be individually enabled or disabled — disabled items disappear from both the AI client and the public documentation page. Learn more: Dynamic Tools, Resources, Prompts.
Step 4: Store credentials in Secrets
If your data source needs an API key, token, or password, don't paste it directly into a server field. Go to Secrets, create a named secret, and reference it anywhere with {{secret:NAME}} — in the server's upstream auth config, headers, or query params. Secret values are stored separately from metadata and never appear in list views; revealing a value requires its own permission. Learn more: Secrets and Authentication.
Step 5: Test before you connect
Before handing a server to an AI client, test it yourself:
- Open a Tool and use its built-in test panel to call it directly and inspect the response.
- Use the AI View tab to see the server exactly as an AI client will.
Fix anything that fails here first — it's much faster to debug from inside Arthur than from inside an AI client's chat window.
Step 6: Connect an AI client
Open the server's Connect tab. It shows the MCP endpoint URL in the form https://your-host/mcp/{serverUri}, plus:
- Access Keys — if the server needs auth, create a named key. Clients send it as the
authheader (recommended) or?auth=query parameter. - OAuth Client — for AI clients that authenticate via OAuth 2.0 (like ChatGPT), configure either an Arthur-managed client or your own external OAuth/OIDC provider.
Copy the connection URL (and key, if configured) into your AI client's MCP server settings. Confirm success: the AI client lists your server's tools, resources, and prompts. Learn more: Secrets and Authentication.
Step 7: Share the server publicly (optional)
From the Connect tab, generate a public share link. Anyone with the link sees a Swagger-style documentation page — every enabled tool, resource, and prompt with their schemas — without needing an Arthur account. No credentials or secret values are ever included on this page. To revoke a link, change the server's share slug; the old link stops working immediately. Learn more: Public MCP Swagger Pages.
Step 8: Control who can do what
Go to Roles & Permissions to manage access beyond the default Administrator role. Three other built-in roles cover most teams, or create a custom role if they don't fit yours. Learn more: Roles and Permissions.
Step 9: Monitor what's happening
Audit Logs record who changed what, Observability shows live health and metrics, and Error Tracking forwards runtime failures to your existing provider. Learn more: Audit Logs, Observability, Error Tracking.
What's next
- Compose several tools into one multi-step call with Chains.
- Rename core vocabulary (Server, Tool, Resource...) to match your team's language — see Multi-Language and Terminology.
- Connect your own LLM providers under AI Providers.
- Browse the full feature index on Home.
Tutorial video