
How to Protect a Server with an Access Key
By default, a server with no key configured is publicly reachable by anyone who knows its URL. An Access Key closes that door for clients that don't use OAuth.
Steps
Open the server's Connect tab.
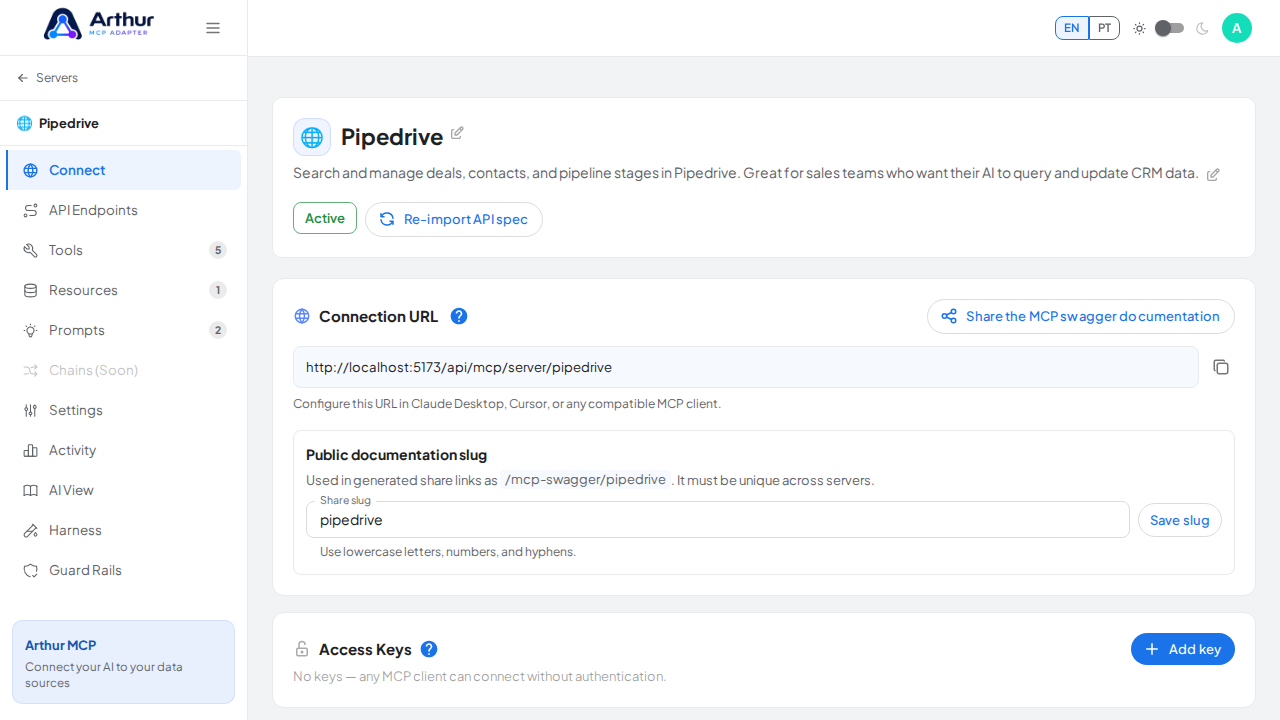
Under Access Keys, click "Add key" and name it after the client that will use it (for example, "Claude Desktop" or "Cursor"). You can create as many named keys as you need — one per client is a good default, since it lets you revoke one client's access without affecting the others.
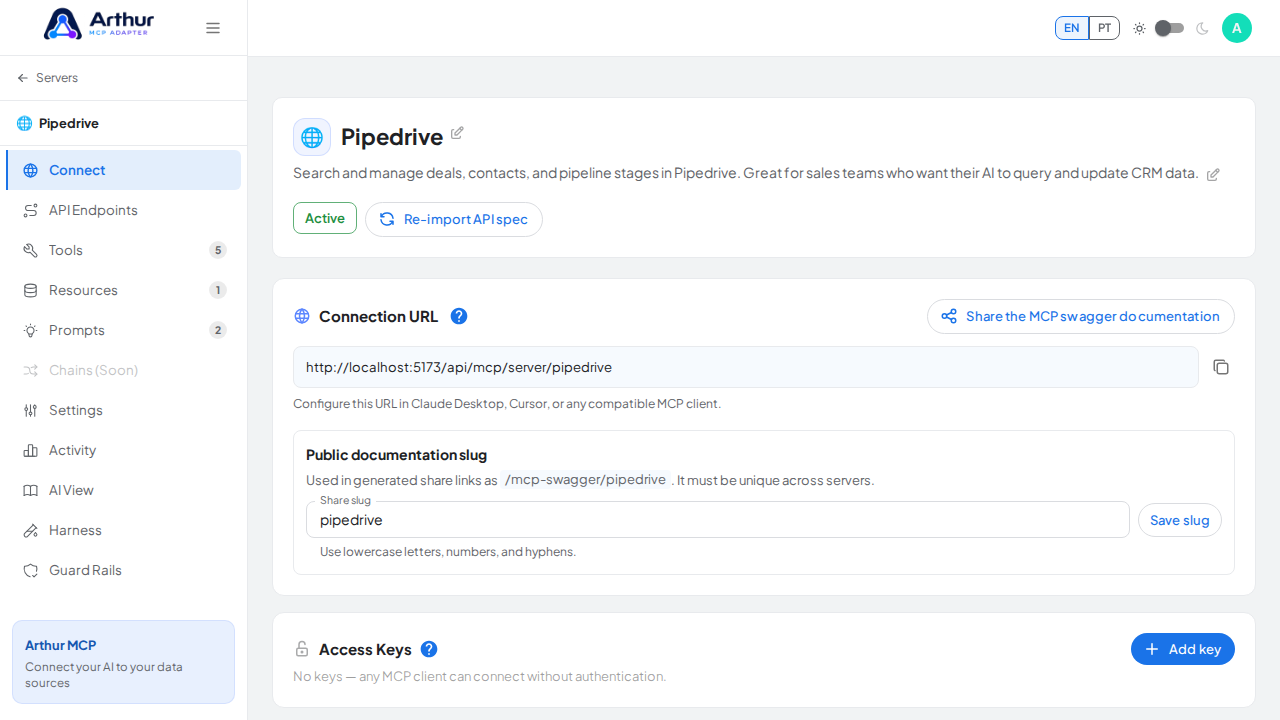
Copy the generated key value and store it somewhere safe. It's masked by default in the list, but you can reveal it again anytime with the eye icon.
Give the key to the client. It should send it as the
authheader (preferred) or, if headers aren't available, the?auth=query parameter.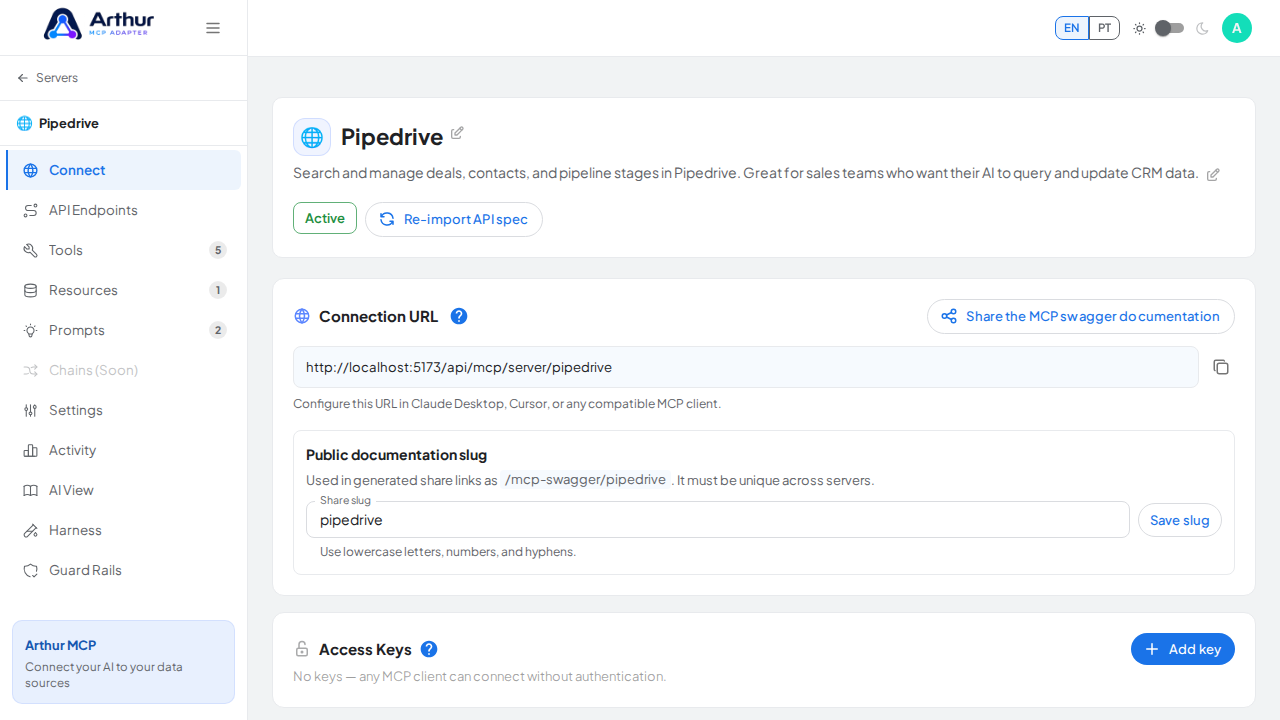
Confirm it worked
A request without a valid key is rejected; the same request with the key succeeds.
To revoke a key
Click the trash icon next to the key and confirm. This permanently deletes the key — it's not a soft-revoke you can undo, so any client still using it will need a new key.
Good to know
- Prefer the header over the query parameter — query strings can end up in browser history and infrastructure logs.
- Need OAuth instead of a static key? See How to Connect ChatGPT via OAuth.
Related
Tutorial video