How to Manage Your Server Slug
A server's slug is its short, unique, URL-safe identifier — auto-generated from the server's name when you create it. It's what shows up in the public share link and the MCP endpoint URL, instead of an internal UUID.
Steps
Open the server's Connect tab.
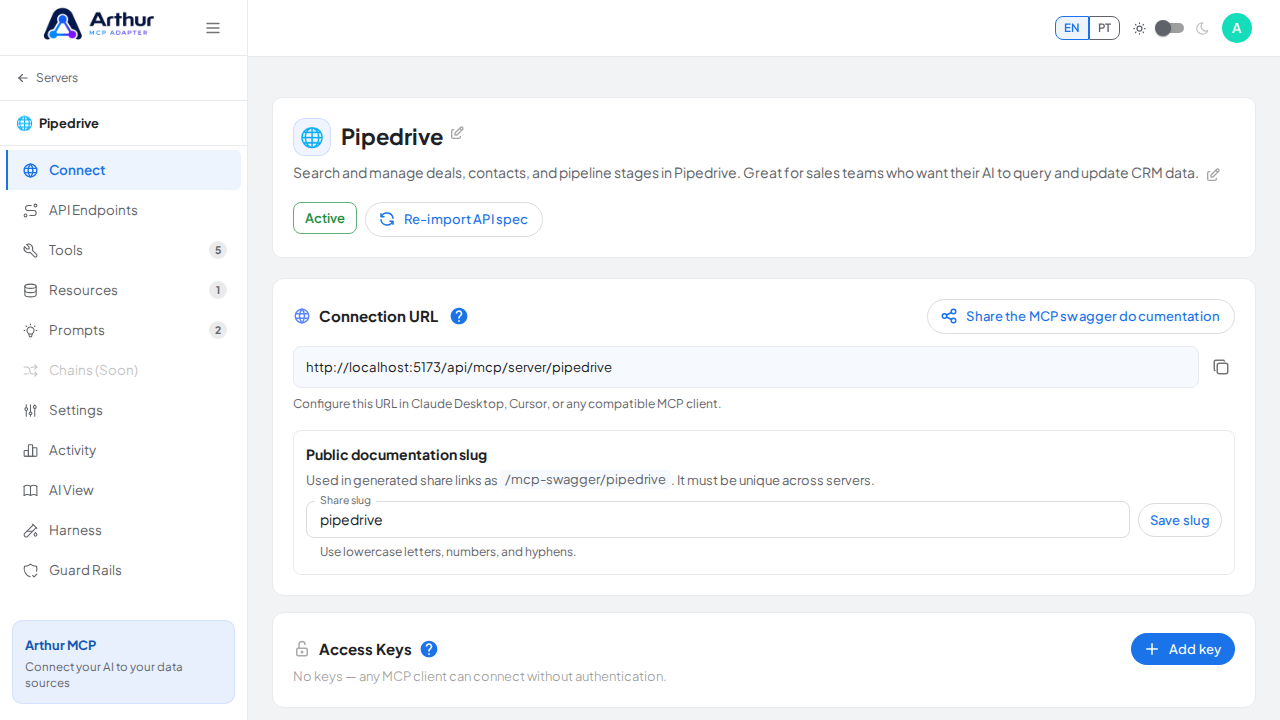
Find "Public doc slug," under the connection URL.
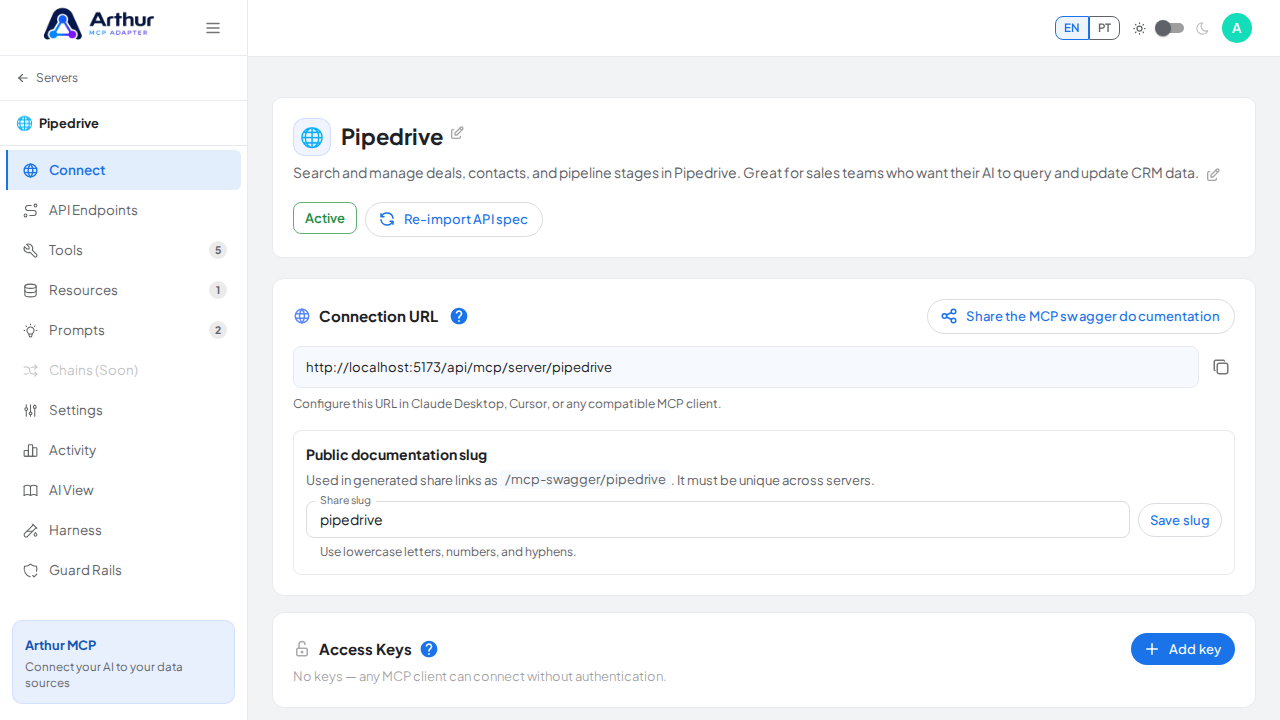
Edit the text field and click "Save slug."
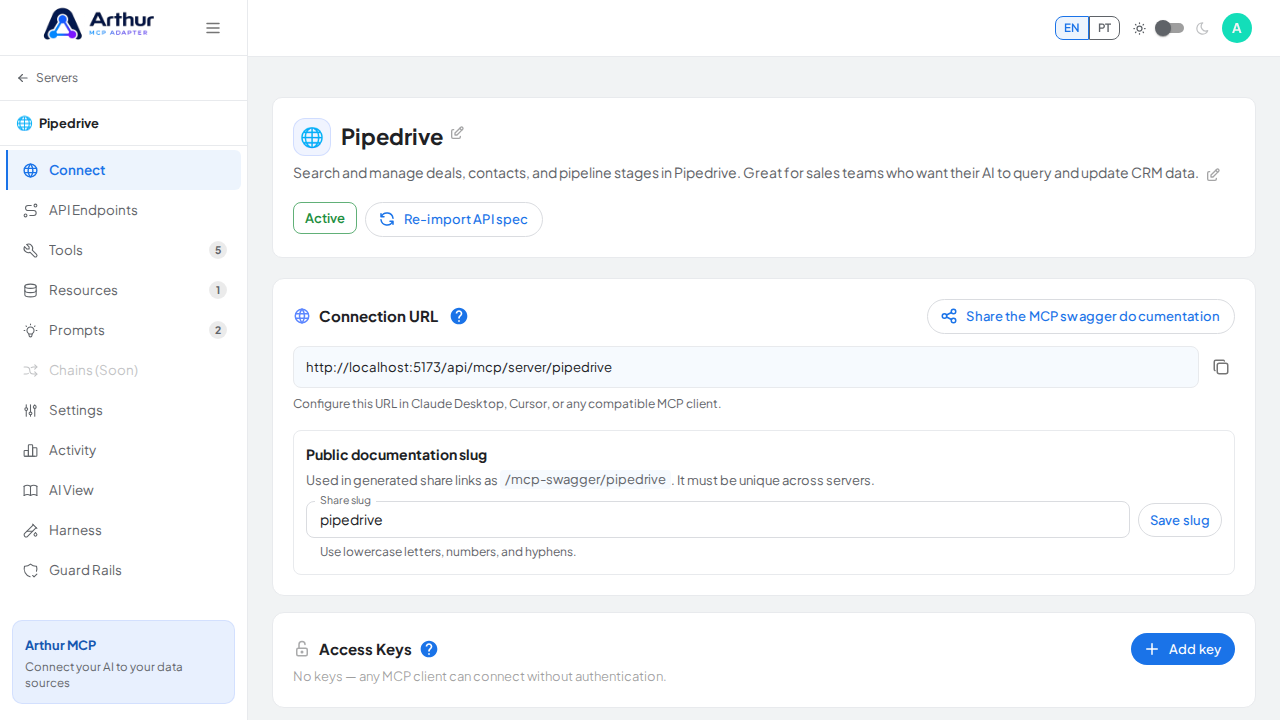
Confirm it worked
The connection URL and public share link update immediately to use the new slug.
Good to know
- Allowed characters are lowercase letters, numbers, and hyphens only (3–80 characters), and the slug must be unique across every server on the instance — a duplicate is rejected.
- Changing the slug is also how you revoke a previously shared public link: the old slug simply stops resolving once you save the new one. See How to Share and Revoke a Public Link.
- If a server has no slug yet (older servers created before this feature), Arthur generates one automatically the first time you click "Share."
Related
Tutorial video