How to integrate Dragon Ball using MCP
Explore Dragon Ball characters and planets. This guide creates an MCP server from Arthur's Dragon Ball template — tools preconfigured against https://www.dragonball-api.com/api — and finishes by sharing the server's MCP swagger documentation.
Steps
Go to the REST API Templates gallery and search for Dragon Ball.
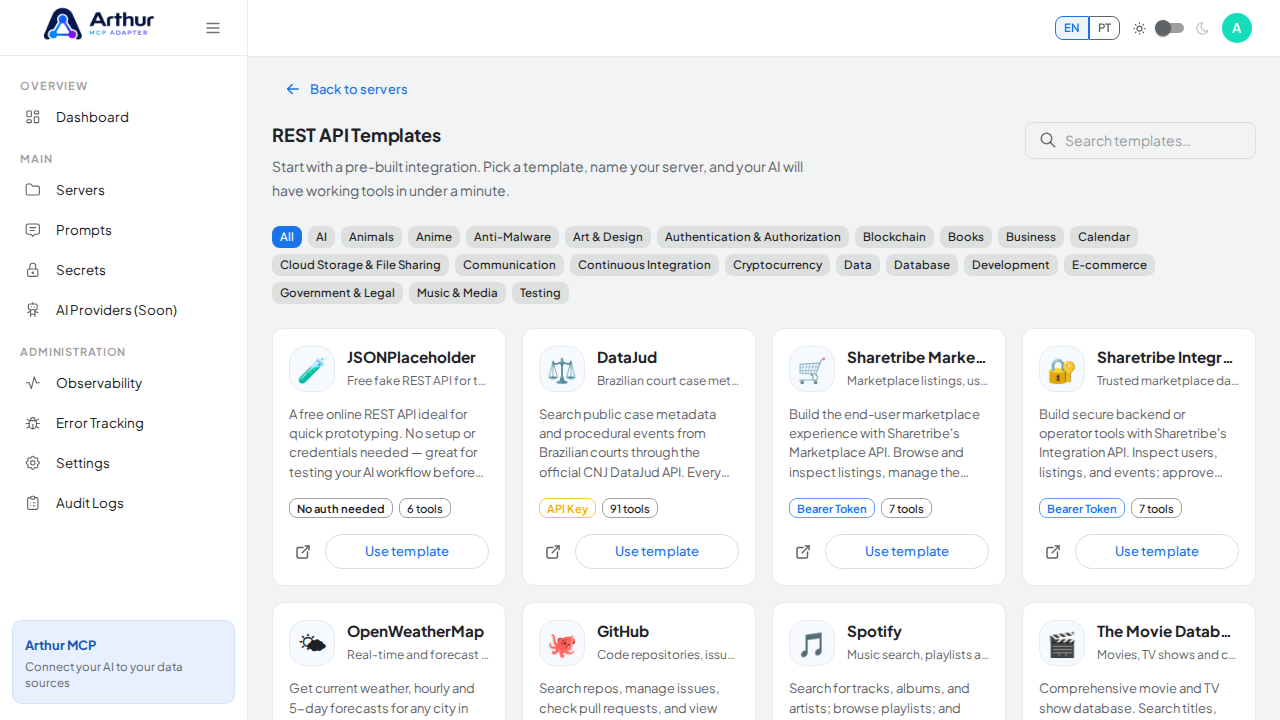
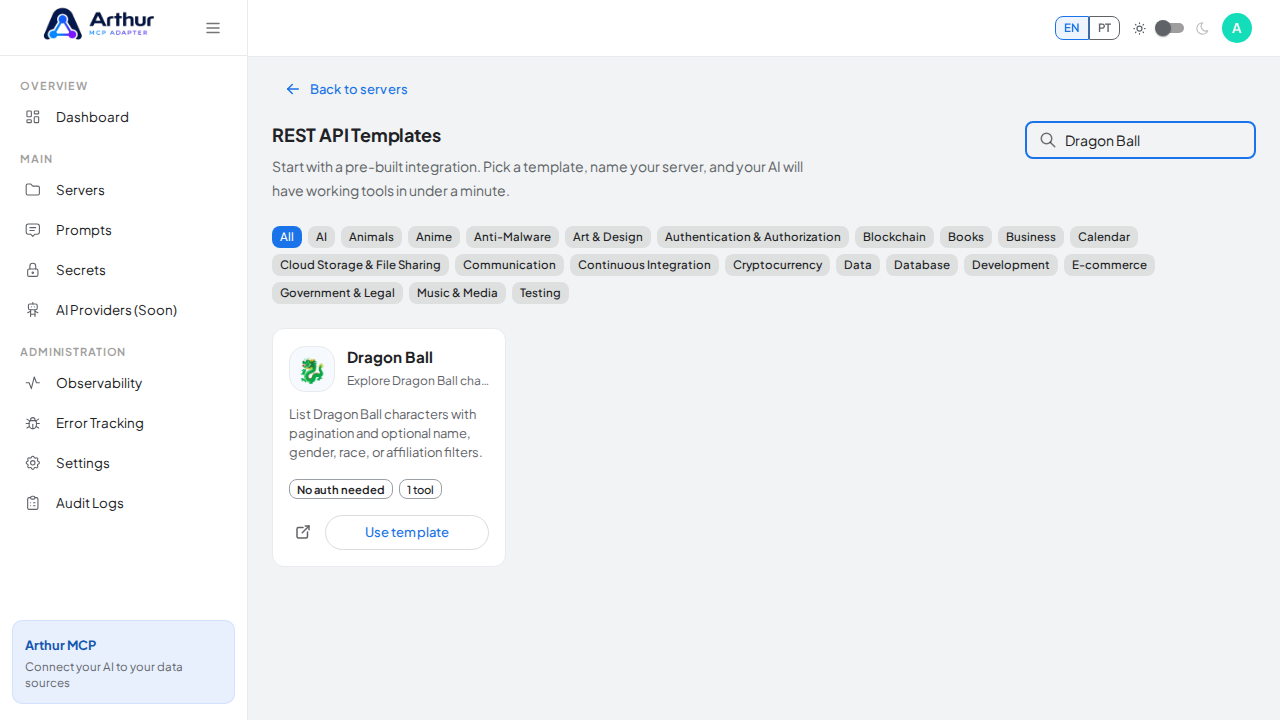
Click Use template on the Dragon Ball card to open the server-creation dialog.
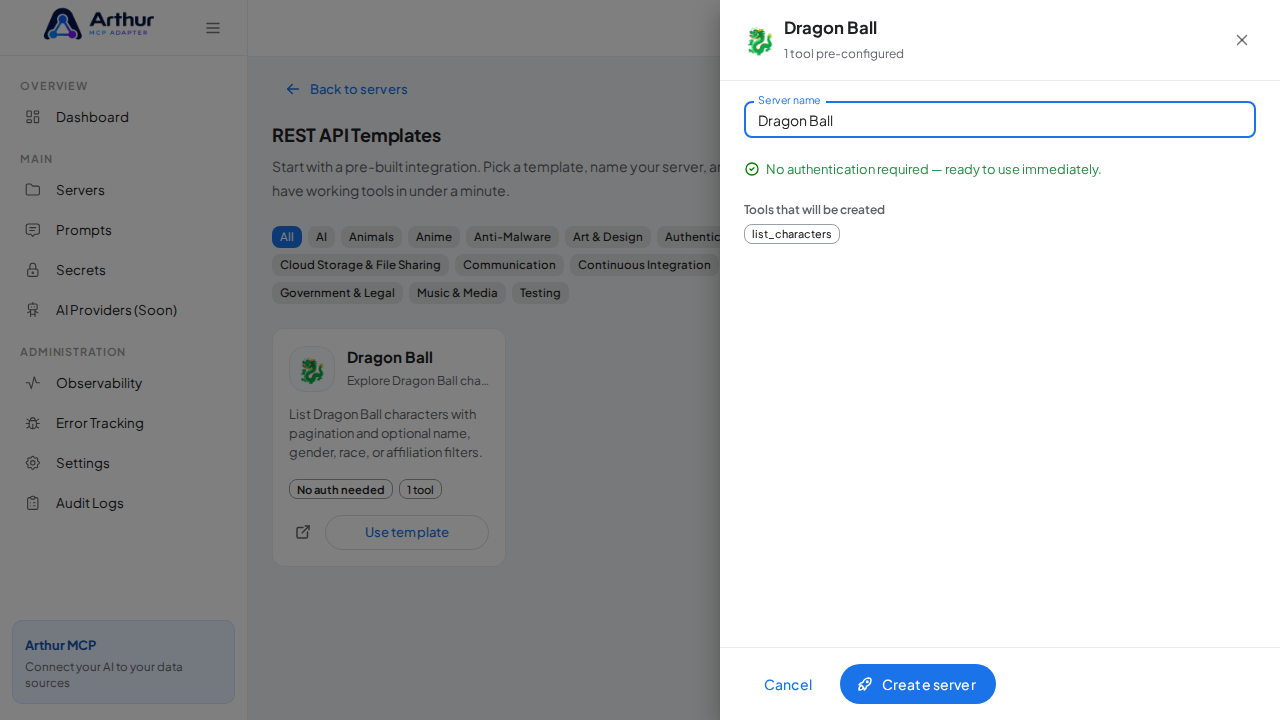
Review the server name — the dialog lists every tool that will be created.
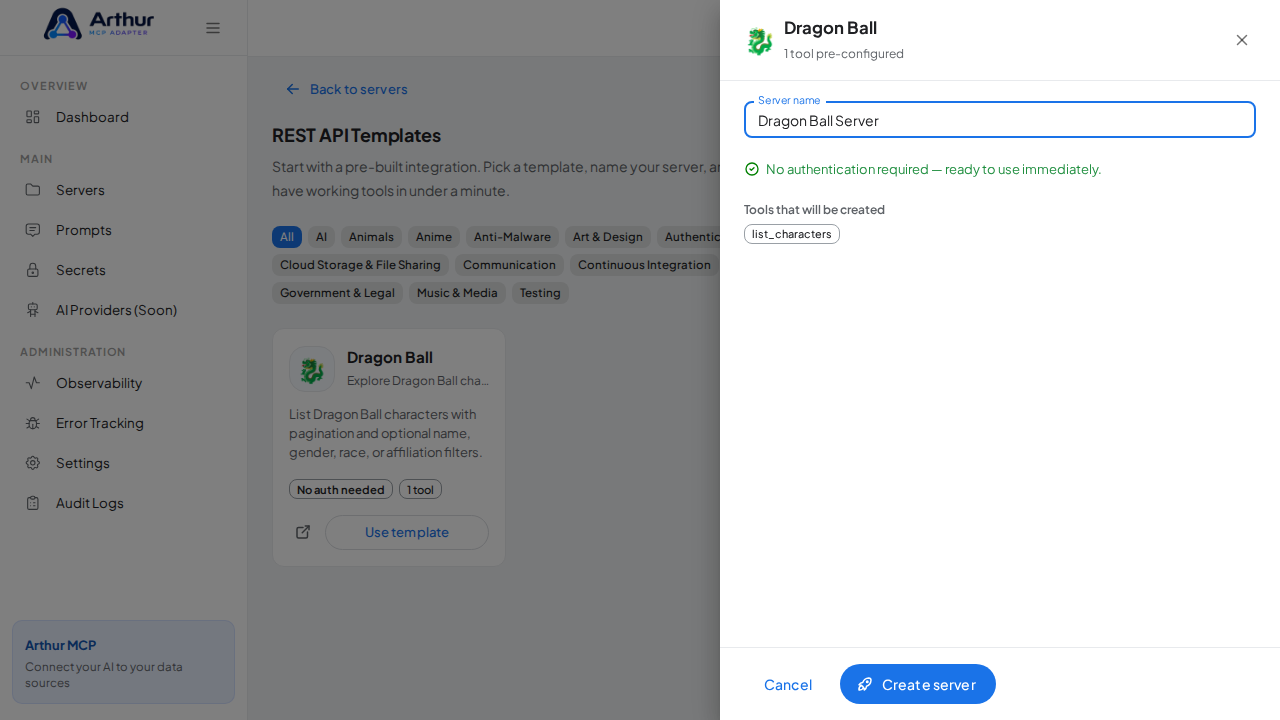
Click Create server. Arthur creates the server, applies the authentication, and generates all the tools.
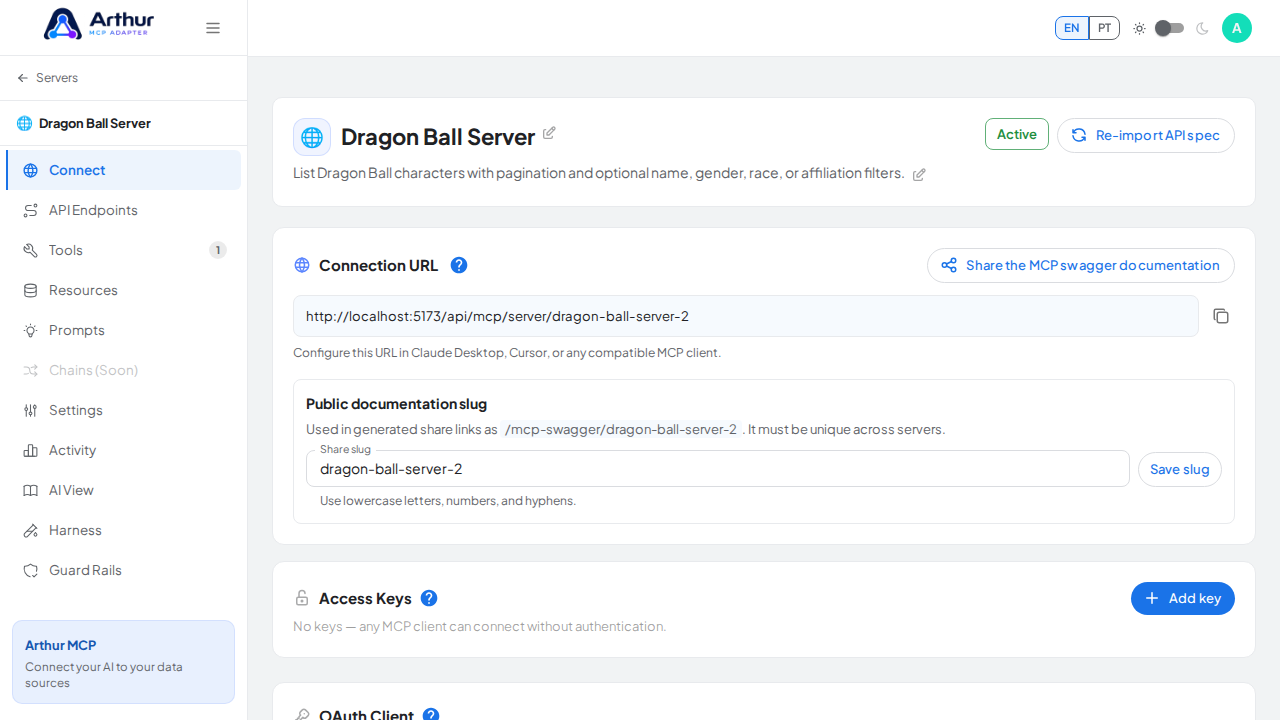
Open the server's Tools tab to review the generated tools.
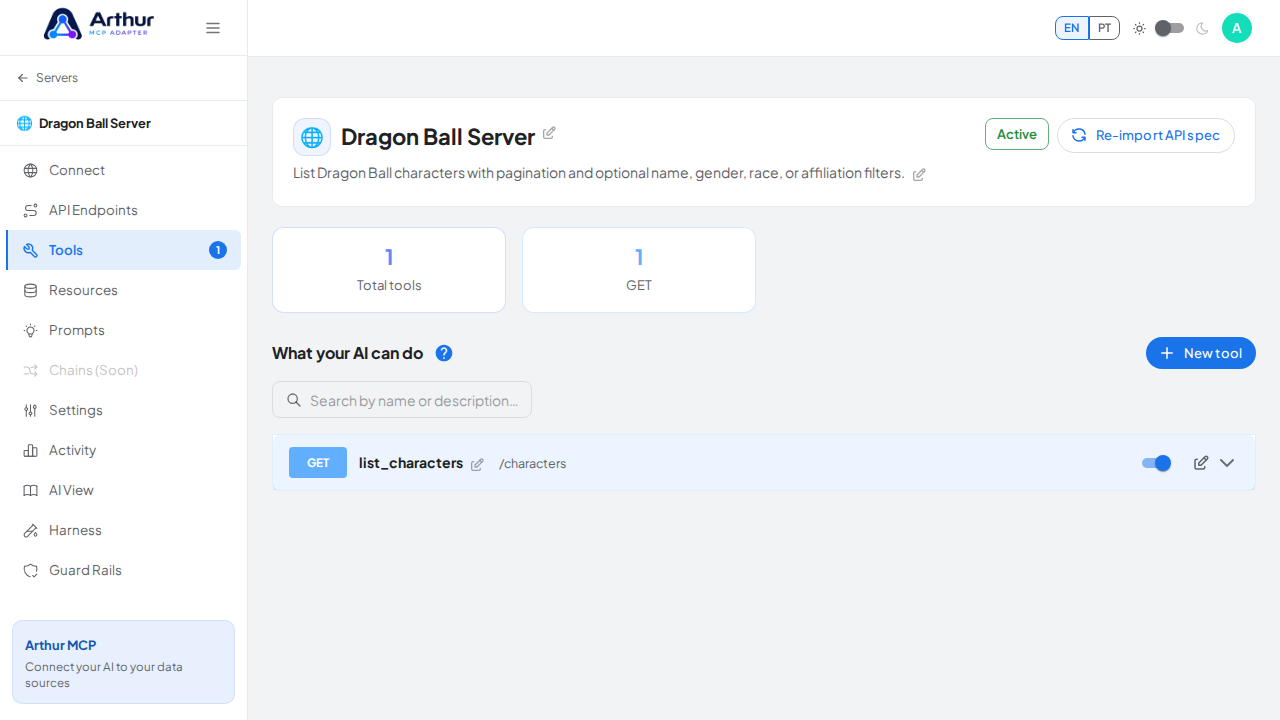
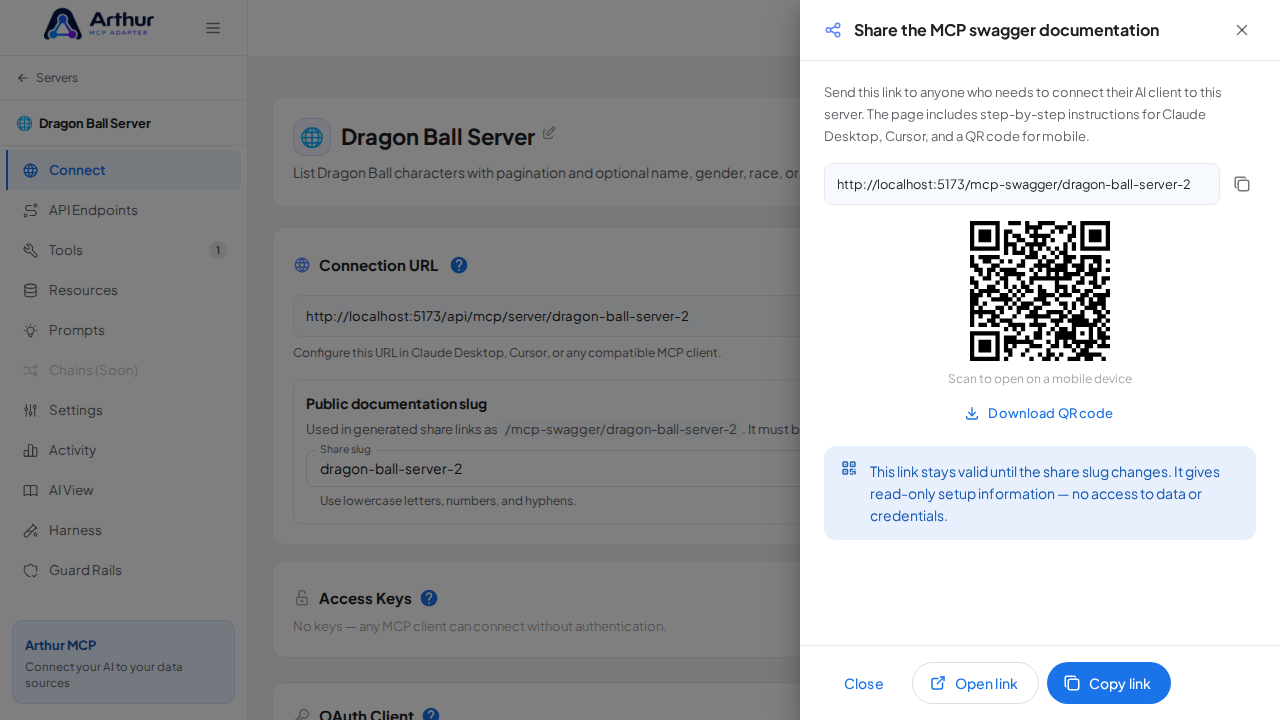
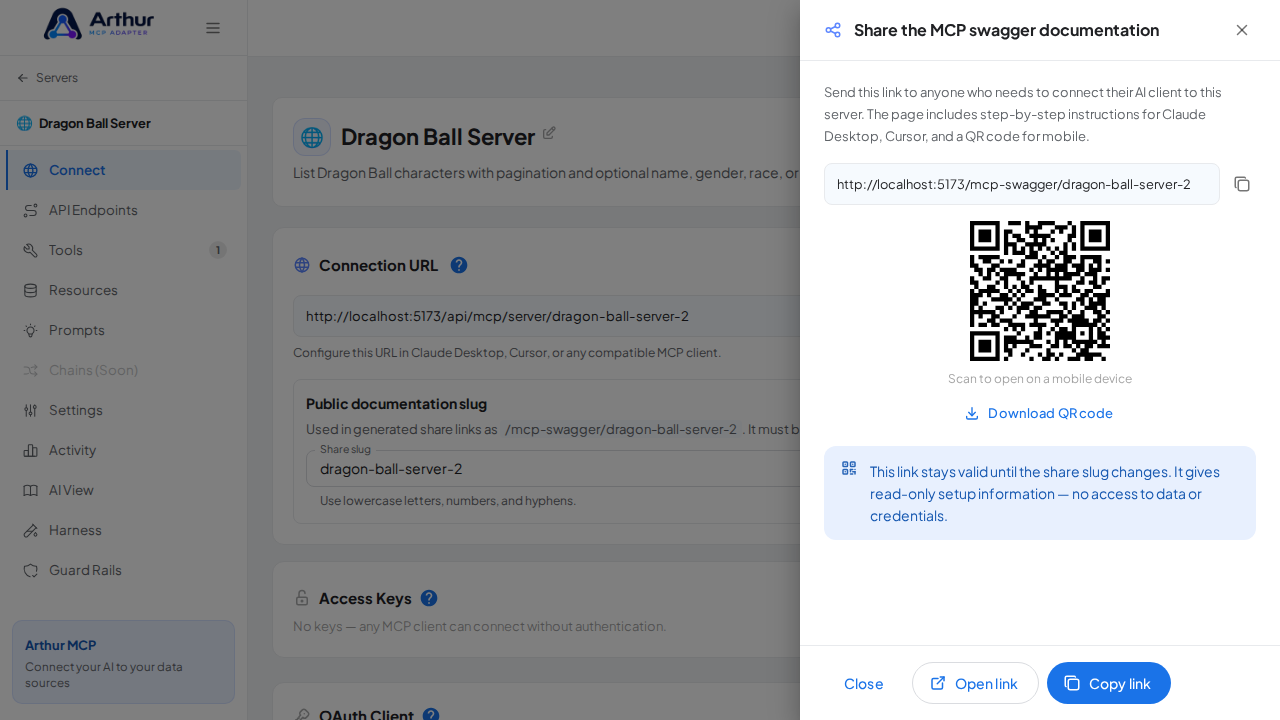
Open the server's Connect section and click Share the MCP swagger documentation — Arthur generates the public documentation link and QR code for this server.
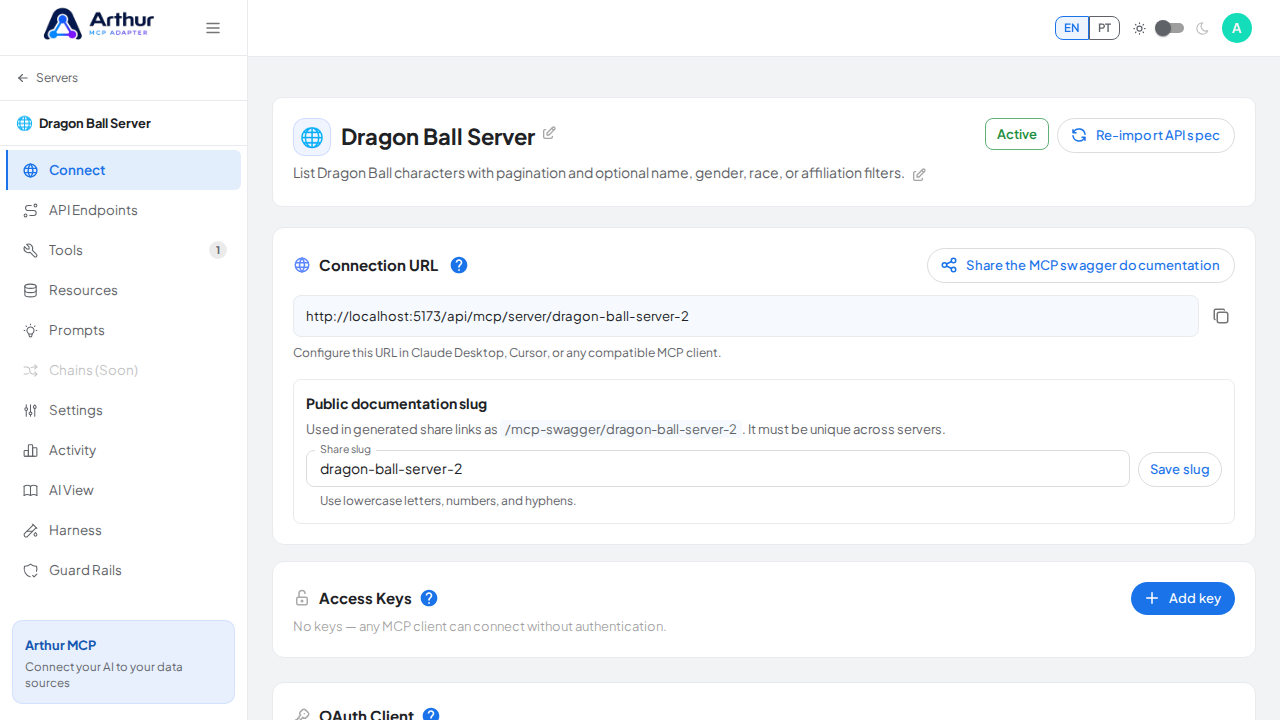
Confirm it worked
The server appears with 1 preconfigured tool(s): list_characters. The Connect section offers the MCP swagger documentation — a shareable page with setup instructions for any AI client.
Good to know
- List Dragon Ball characters with pagination and optional name, gender, race, or affiliation filters.
- No authentication required — the server is ready to use immediately.
- Official API documentation: https://web.dragonball-api.com/documentation
- Editing a tool later never changes the template — templates are starting points, and the server is fully yours after creation.
Related
Tutorial video