
How to create Expense Categorizer using MCP
Auto-categorize expense line items for accounting. This guide creates the Expense Categorizer prompt from Arthur's template catalog, sets up a blank MCP server, and links the prompt so any connected AI client can use it.
Steps
Go to Prompt Templates and search for Expense Categorizer.
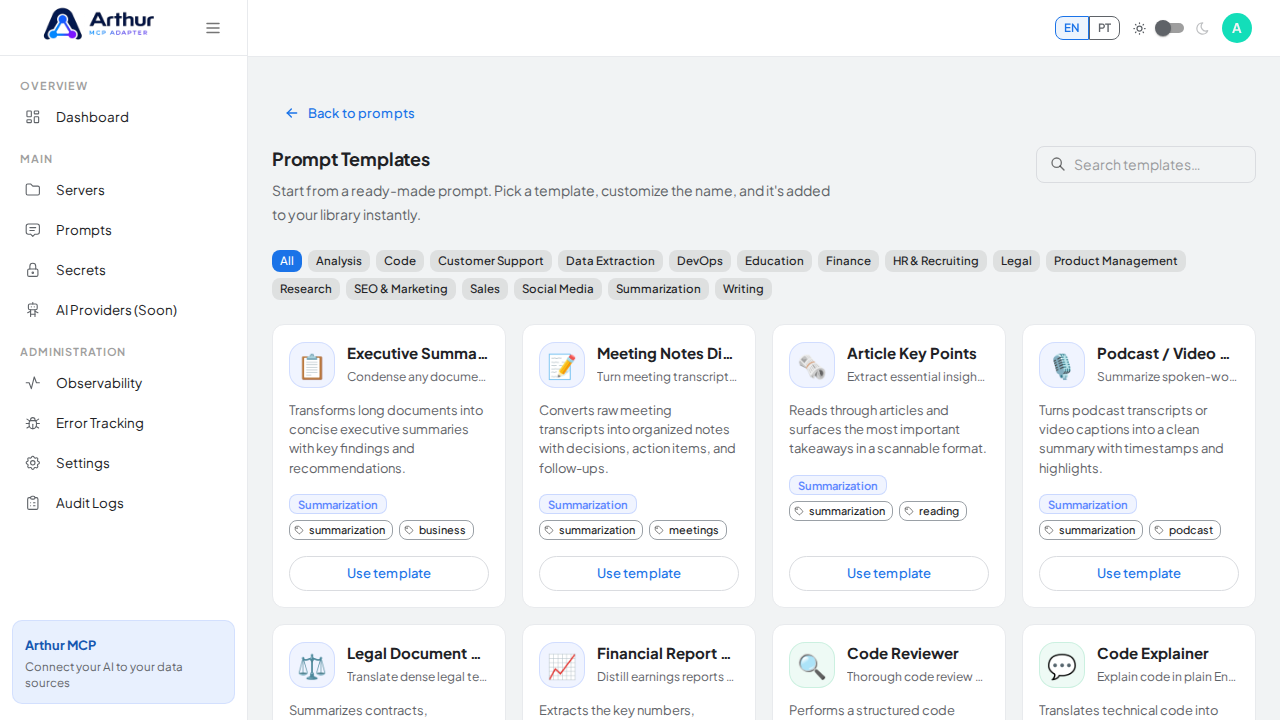
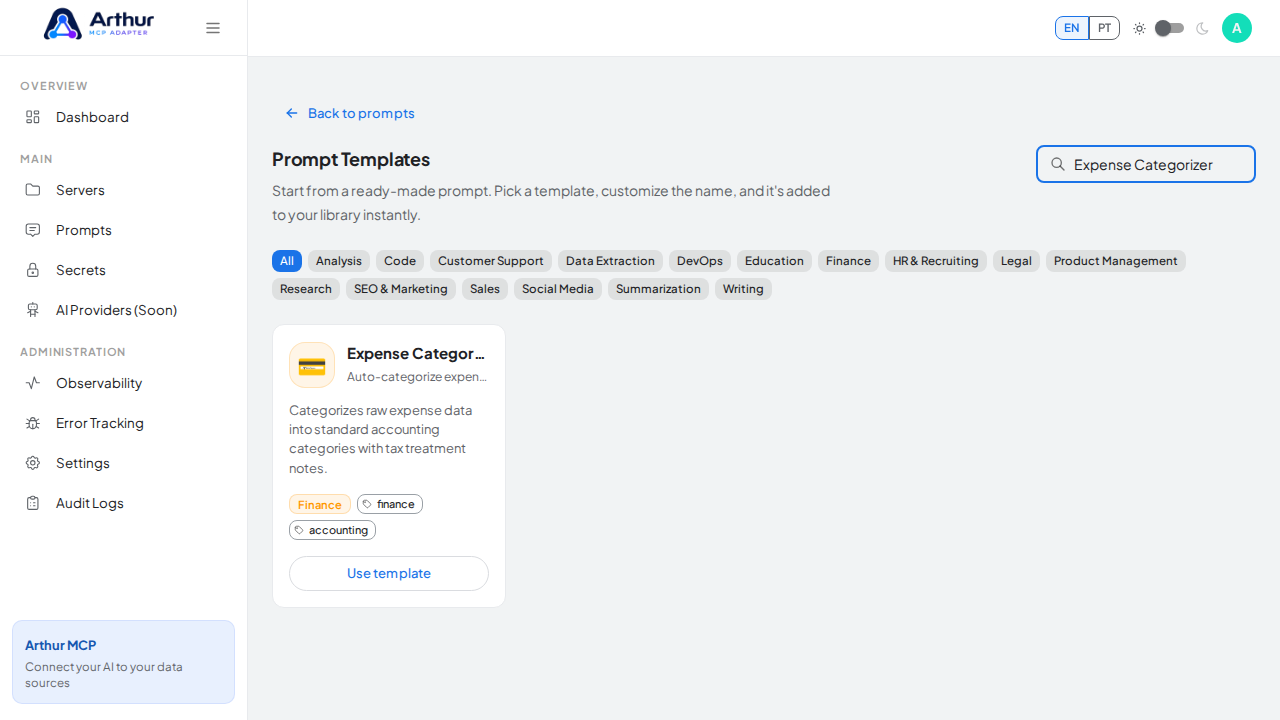
Click Use template on the Expense Categorizer card and review the prefilled name, description, and content preview.
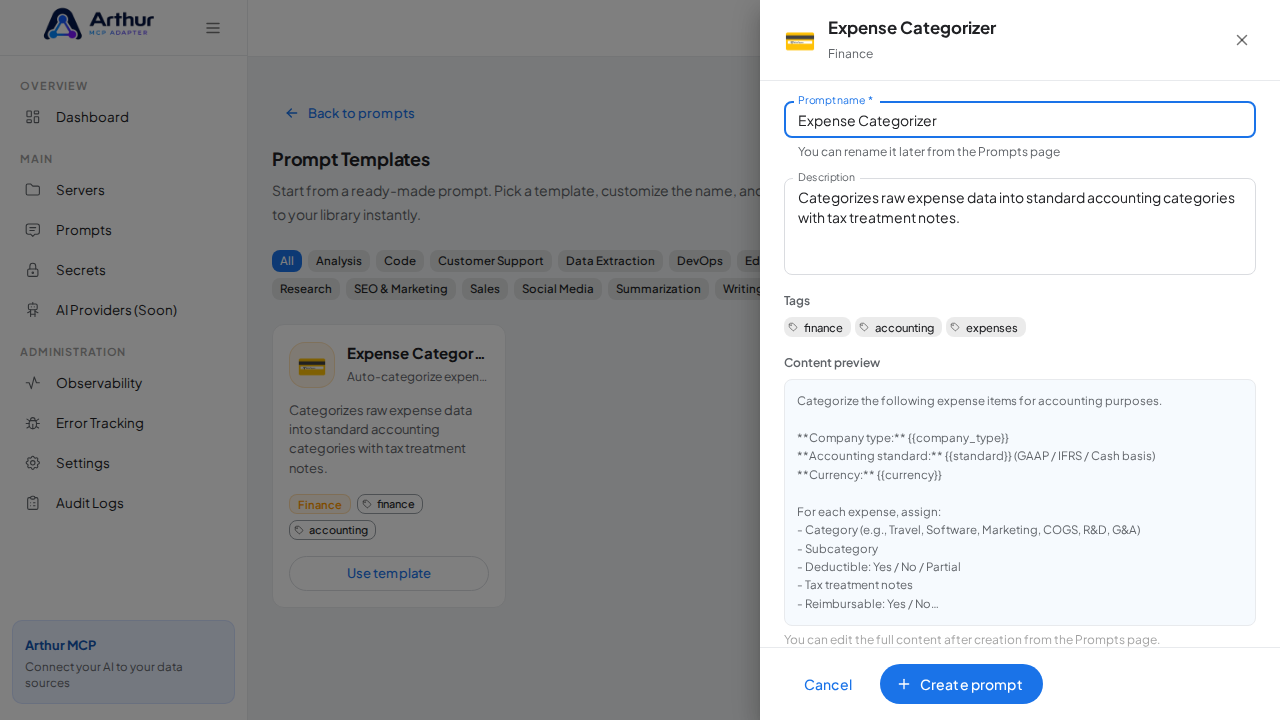
Click Create prompt — the prompt is added to your shared library.
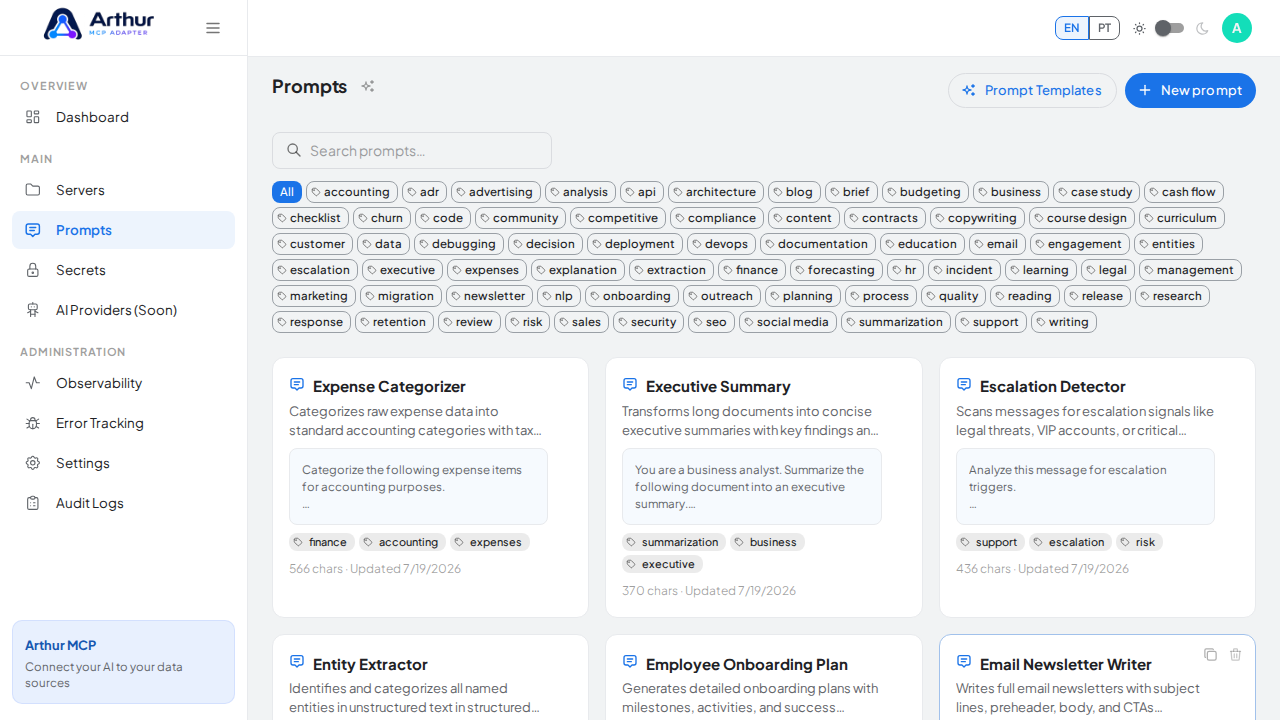
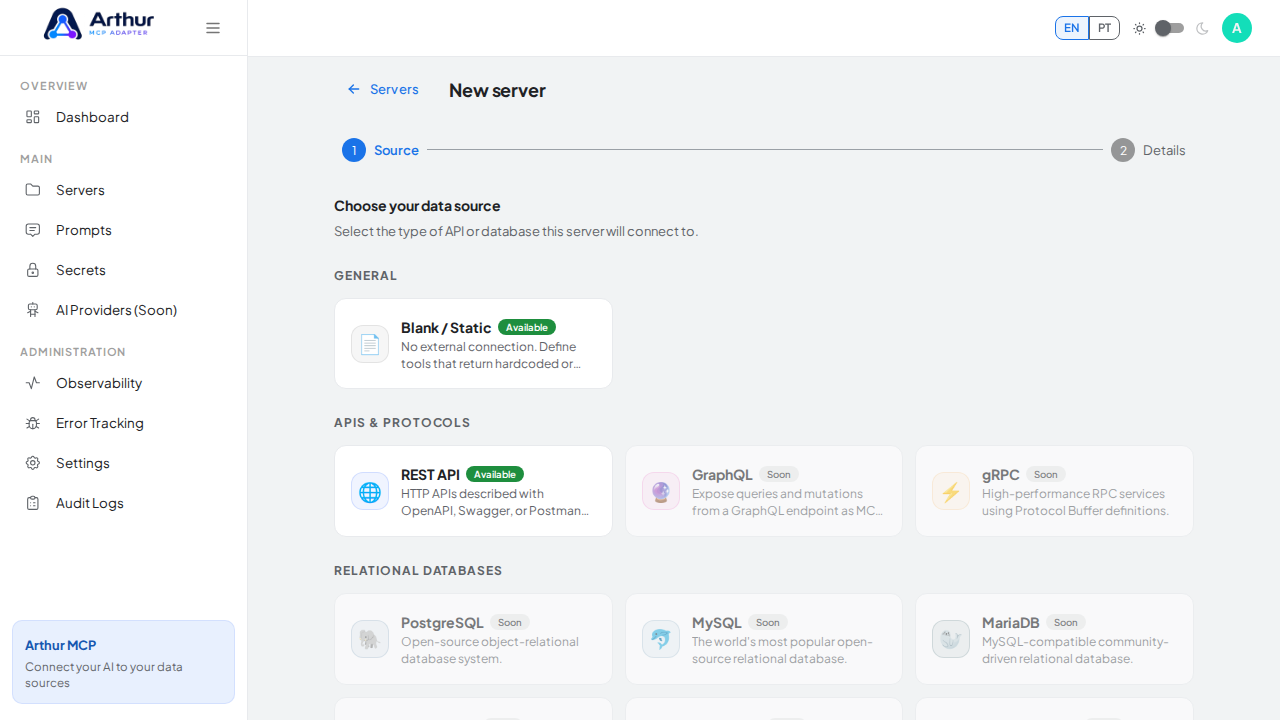
Go to New server, choose Blank / Static as the source, and click Next.
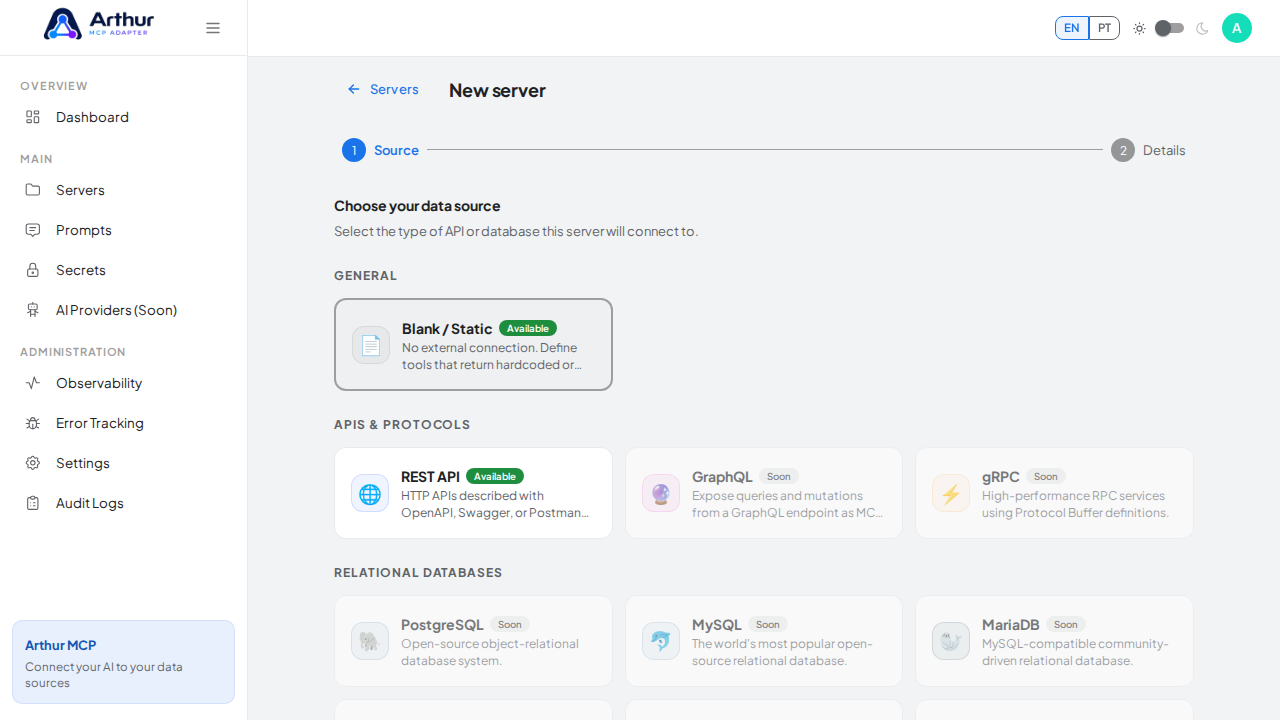
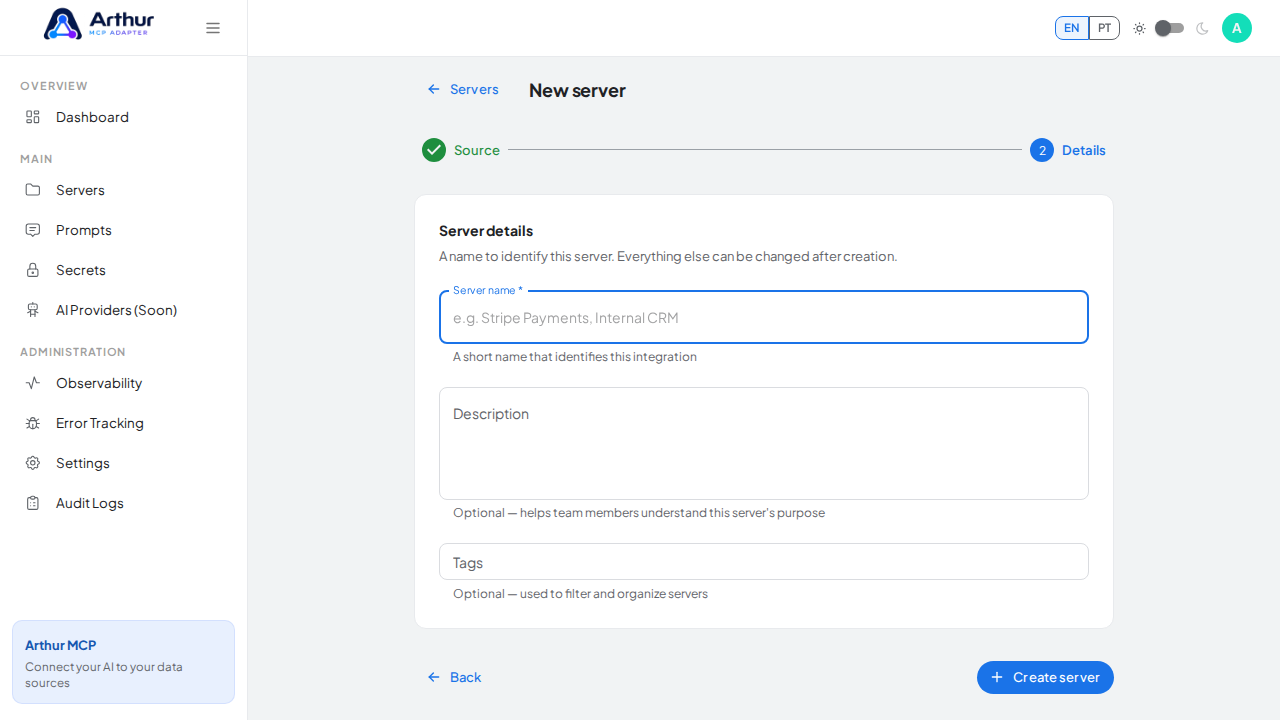
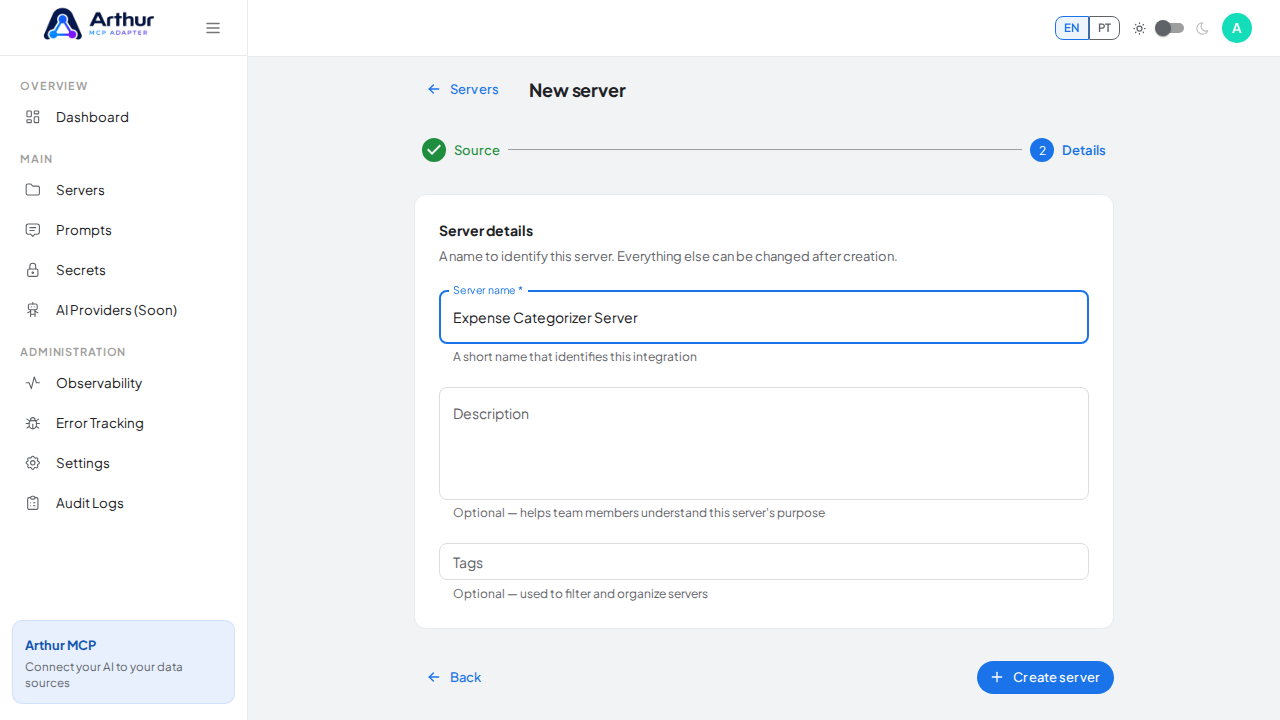
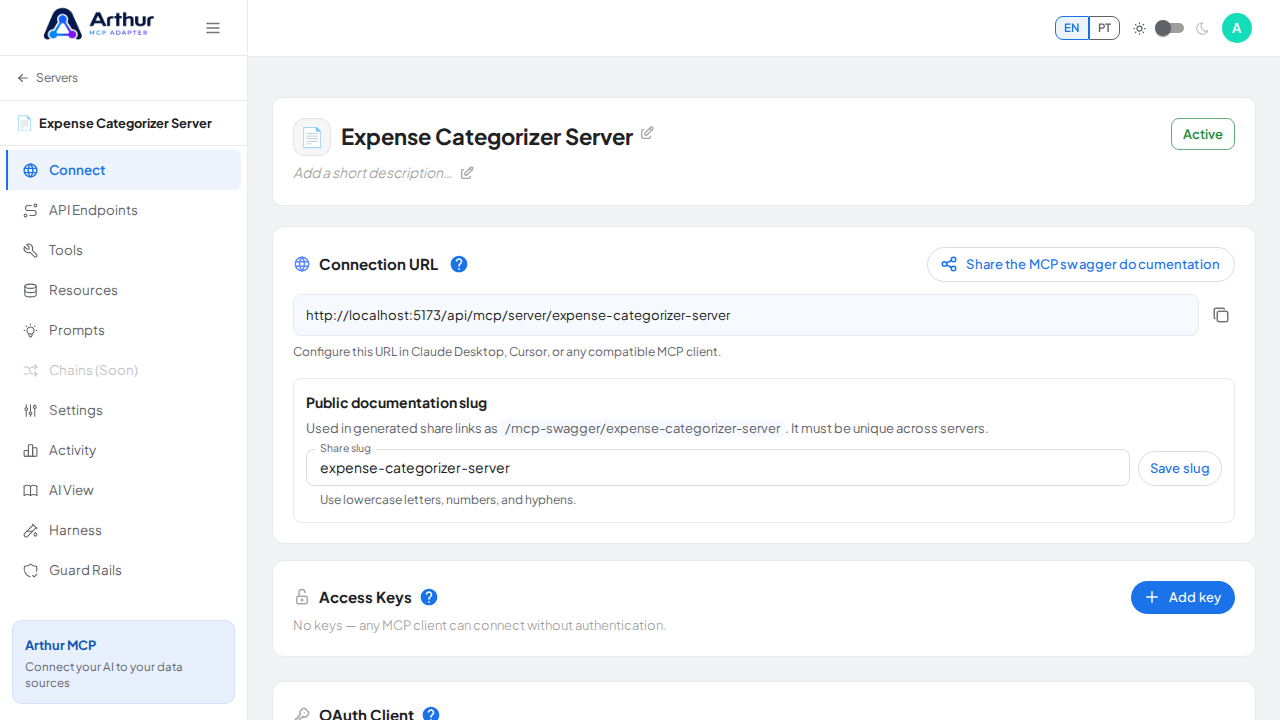
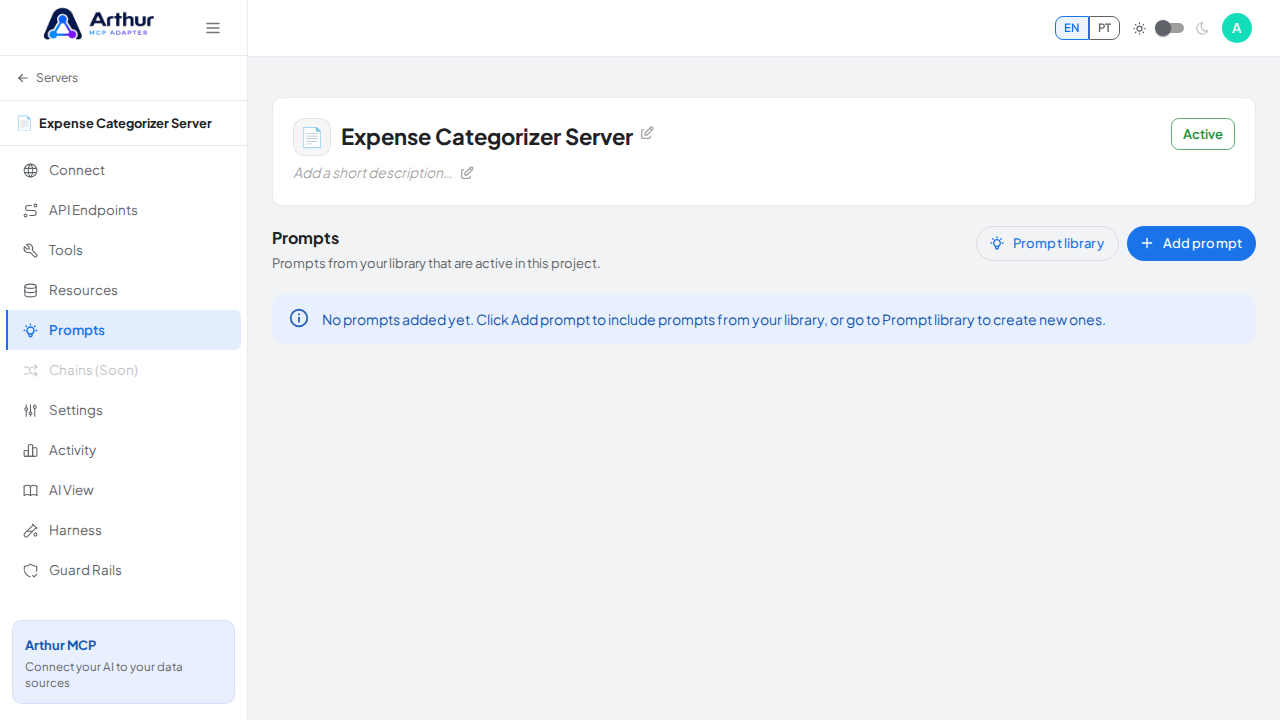
Name the server (for example, Expense Categorizer Server) and click Create server.
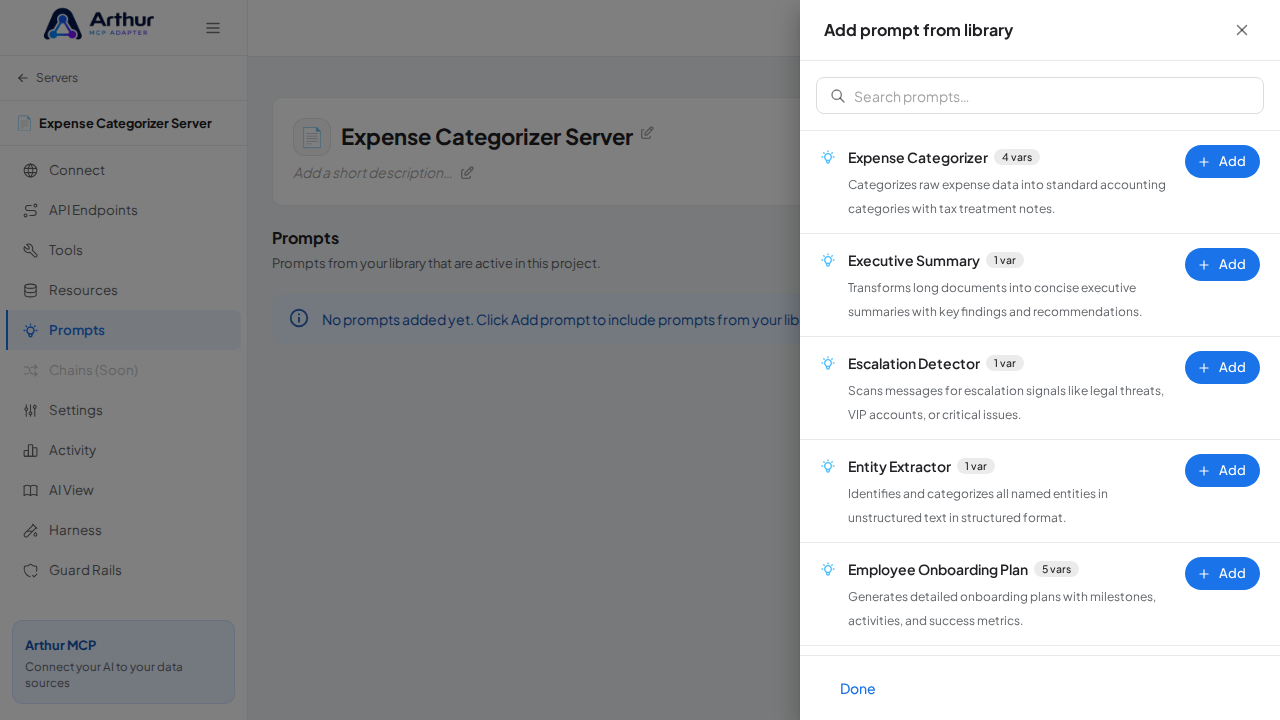
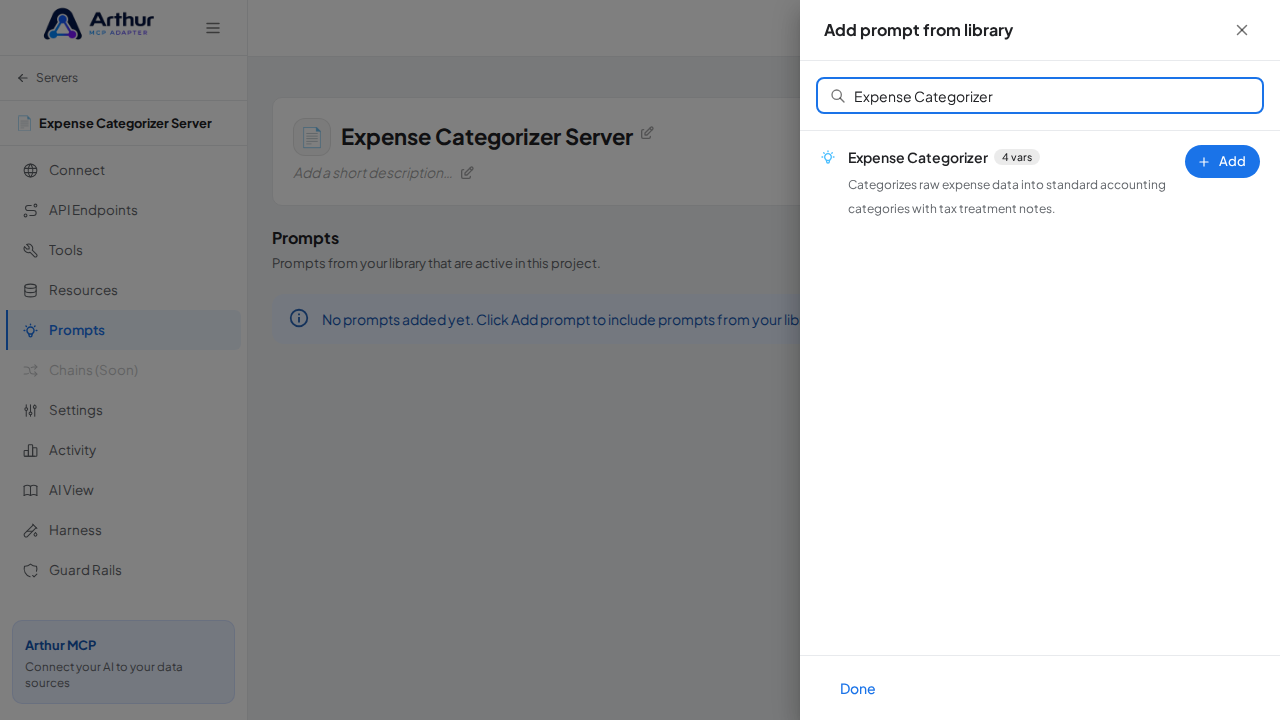
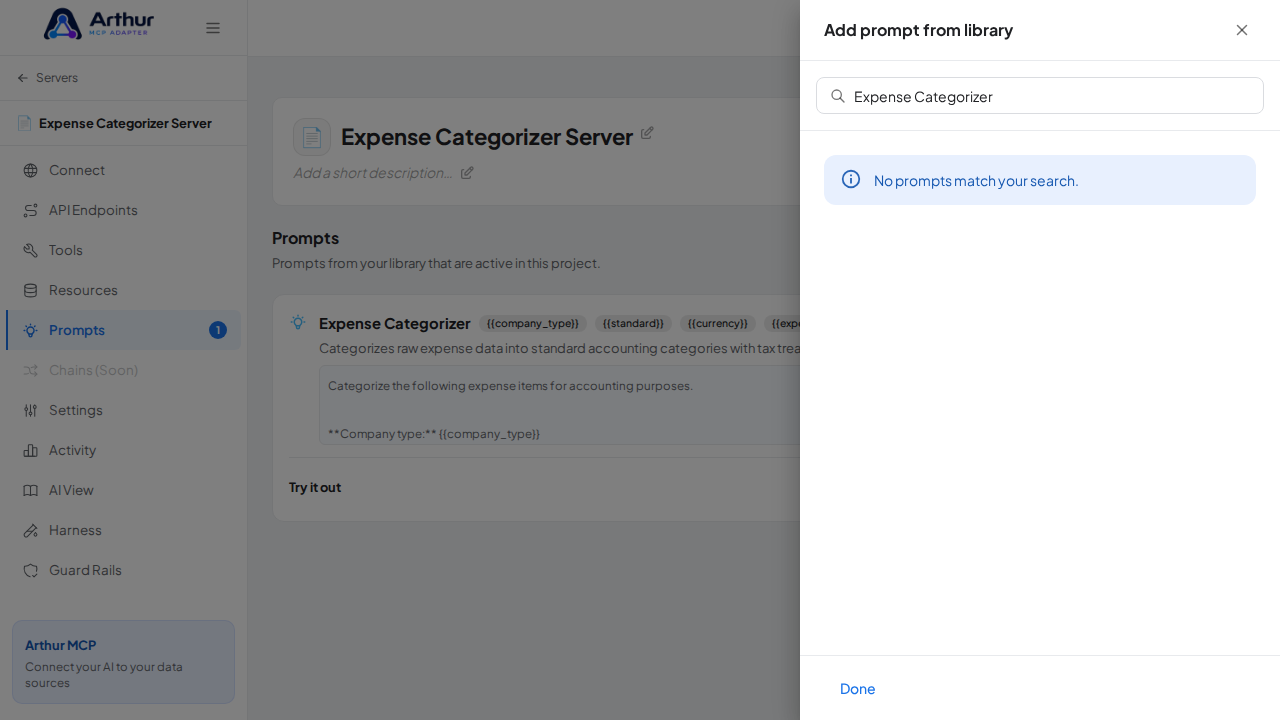
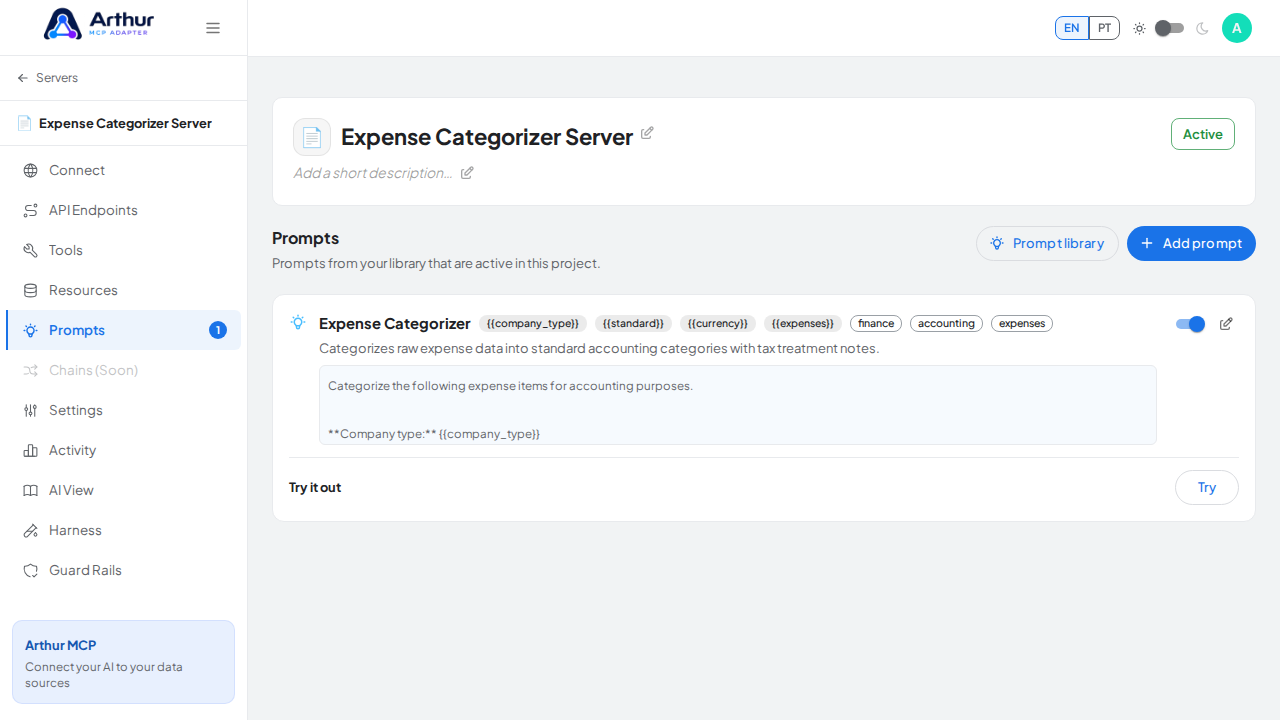
On the server's Prompts tab, click Add prompt, search for Expense Categorizer, and click Add.
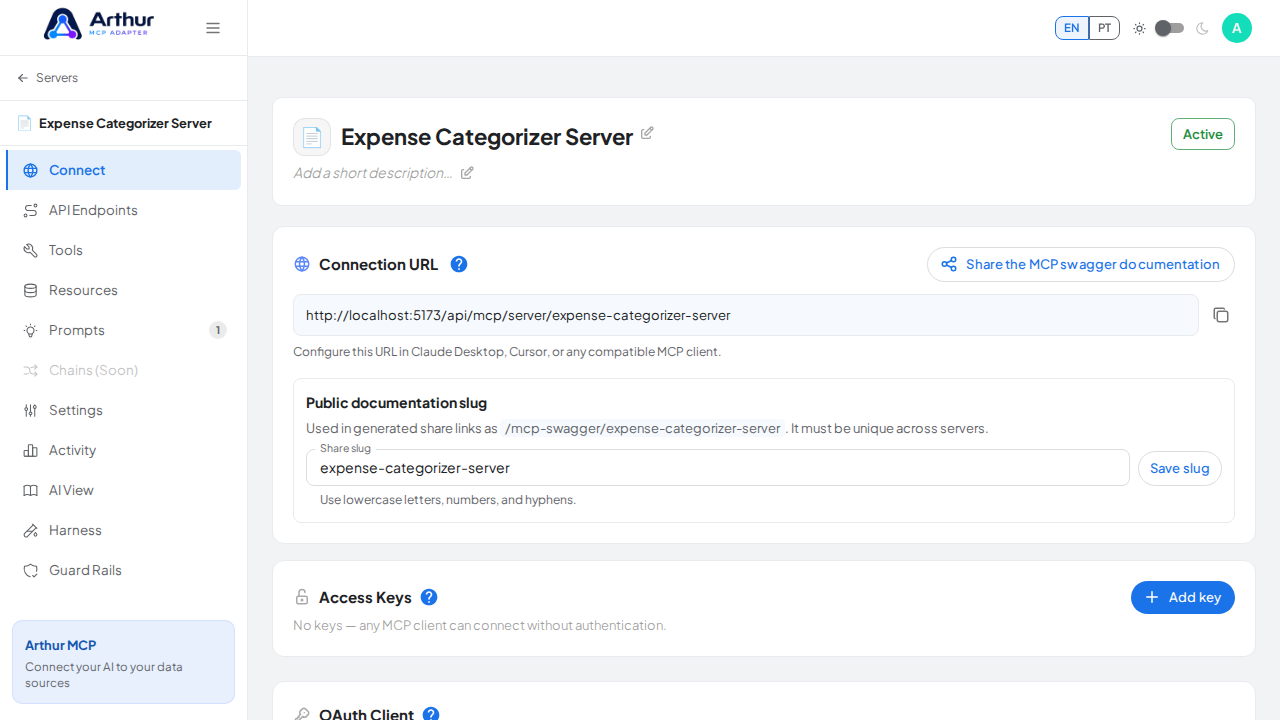
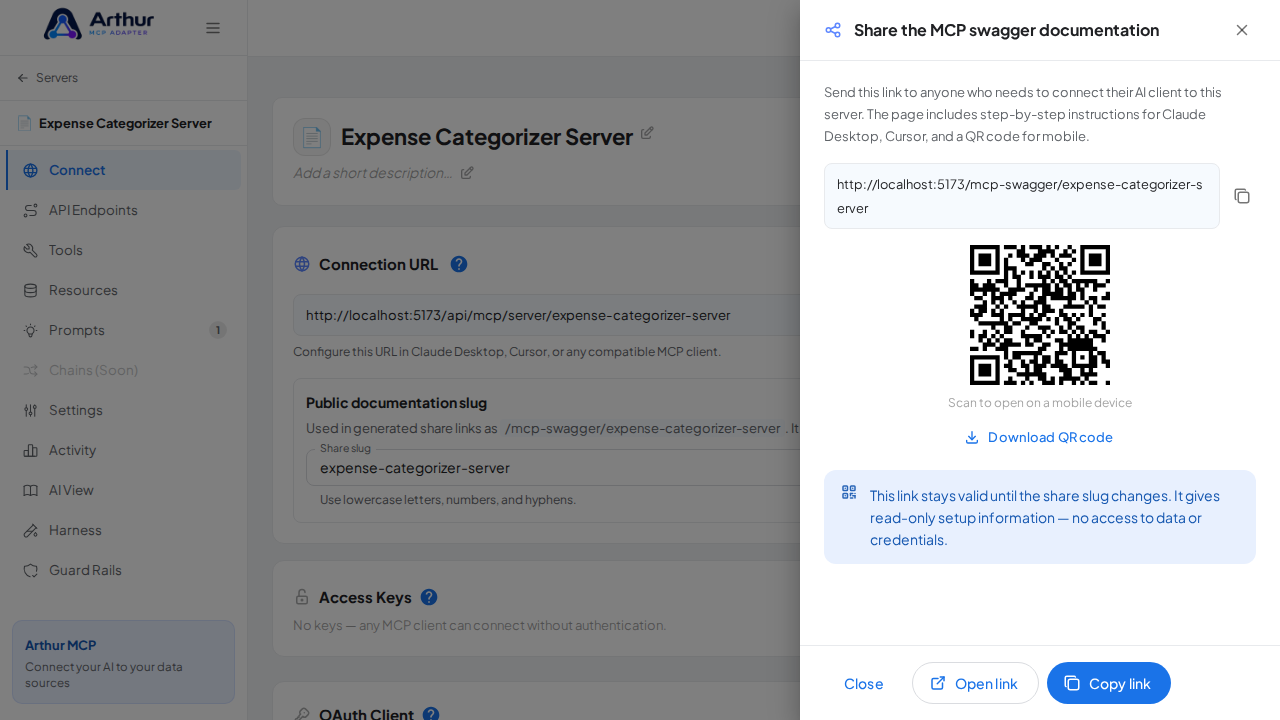
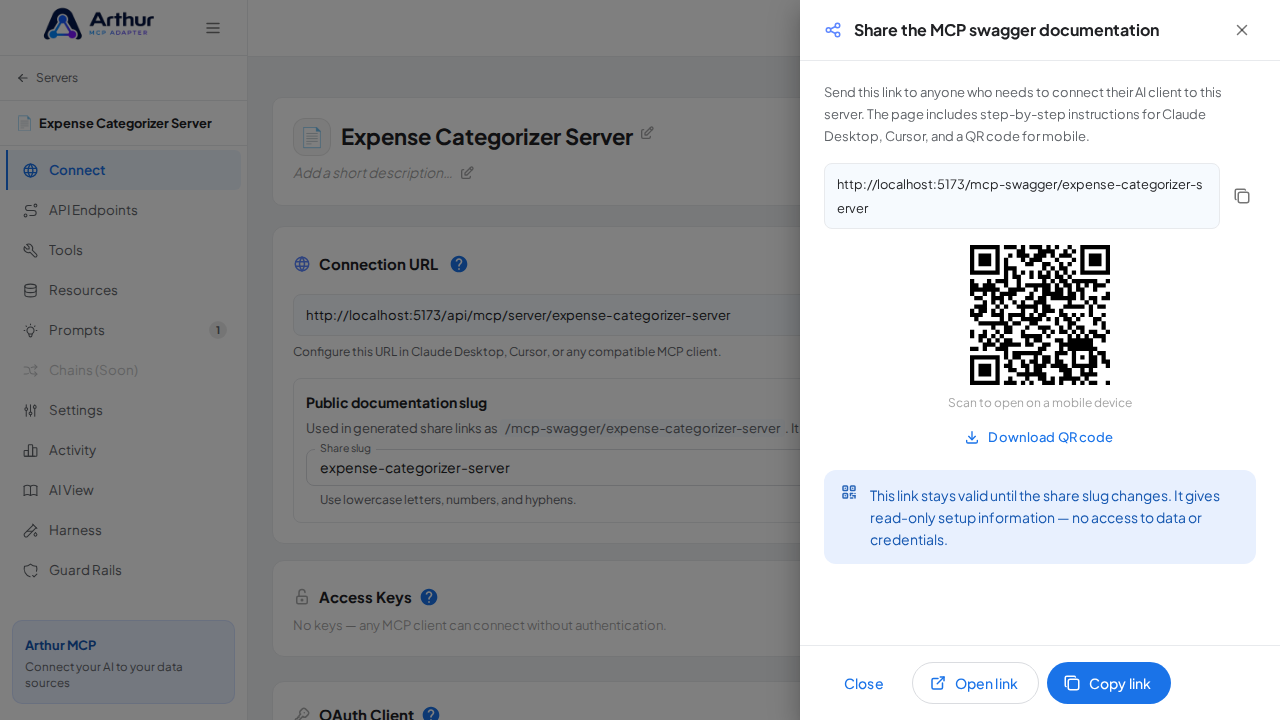
Open the server's Connect section and click Share the MCP swagger documentation — Arthur generates the public documentation link and QR code for this server.
Confirm it worked
The Expense Categorizer prompt appears on the server's Prompts tab, and the Connect section offers the server's MCP swagger documentation — a shareable page with setup instructions for any AI client. A connected client can now fetch the prompt through this server.
Good to know
- Categorizes raw expense data into standard accounting categories with tax treatment notes.
- Arguments detected from the template:
{{company_type}},{{standard}},{{currency}},{{expenses}}— callers fill these in when invoking the prompt. - Editing the prompt in the shared library updates it on every server where it's linked.
Related
Tutorial video